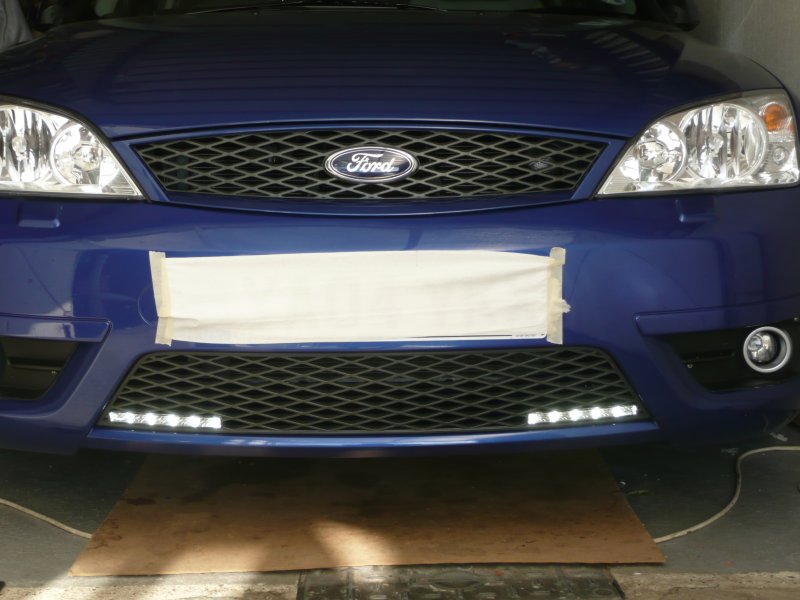
Installing LED Daylight Running Lights
Tony has very kindly sent us a 'How To' guide and pictures for his installation of a pair of LED Daylight Running Lights. This was on a Ford Mondeo ST220, but most of the instructions would be relevant to cars with a plastic or metal front grill.
- Jack up front of the car to be able to work from underneath car safely. Don't rely on a hydraulic jack, but use axle stands for safety.
- Remove all screws holding plastic weather shield and remove.
- Pull out wire supports holders for fog light at the bottom of the grill.
- Suggestion: Gently knock the plastic grill with side of your fist, as this will push the grill back. This worked for me, or you will have to remove 10 metal fixing clips that hold the grill in place. From under the car, use pliers and or small screwdriver to prise off each clip. Also remove the temperature Sensor LHS (offside) bracket shown in Picture 2. Keep all grill clips somewhere safe!
- Remove the grill and place on a work surface.
- Make cardboard template slightly smaller than the light unit, place on lower corner of grill and mark with small felt tip pen.
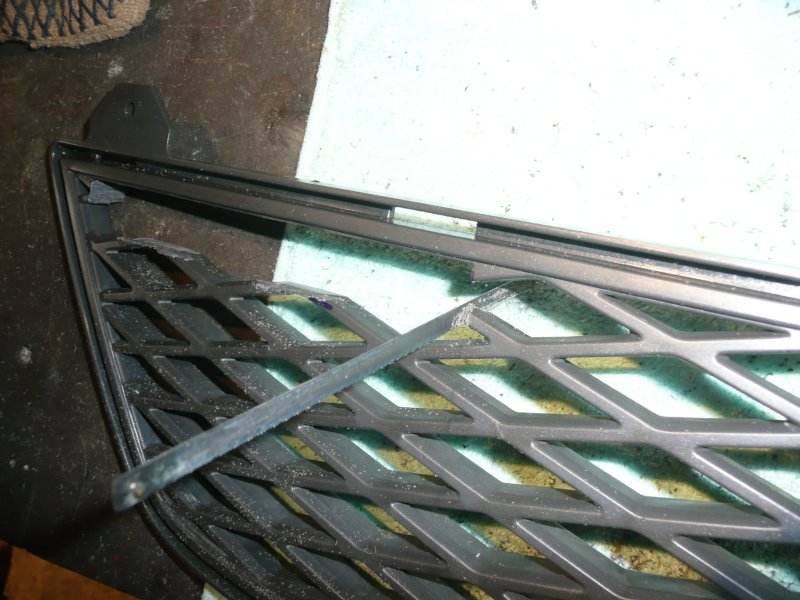
- Stick masking tape on marks as Picture 1, double check measurements before making any cuts. I cut this out with a metal hacksaw blade (32tpi) and a junior hacksaw blade, both removed from the saw body. Use a glove to hold the blade.
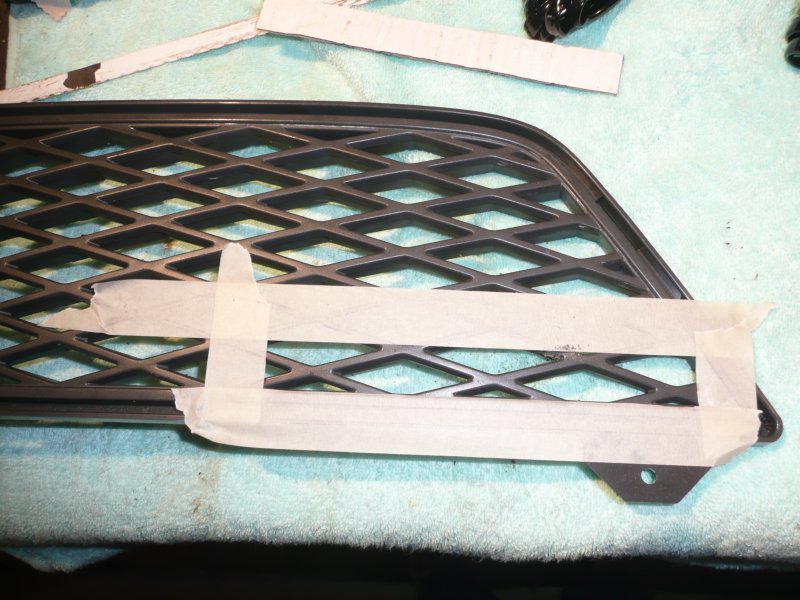
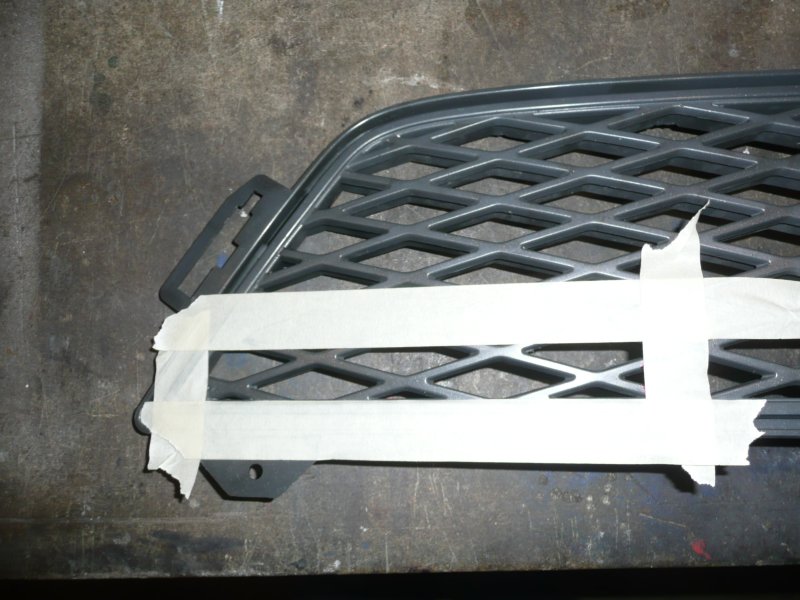
- Cut out the plastic inside your masking tape. Check light unit for fitting as you cut - this MUST fit tightly in the cut out. You may have to file some out for final fitting: take your time, you only have one chance.
- Do the same for the other side.
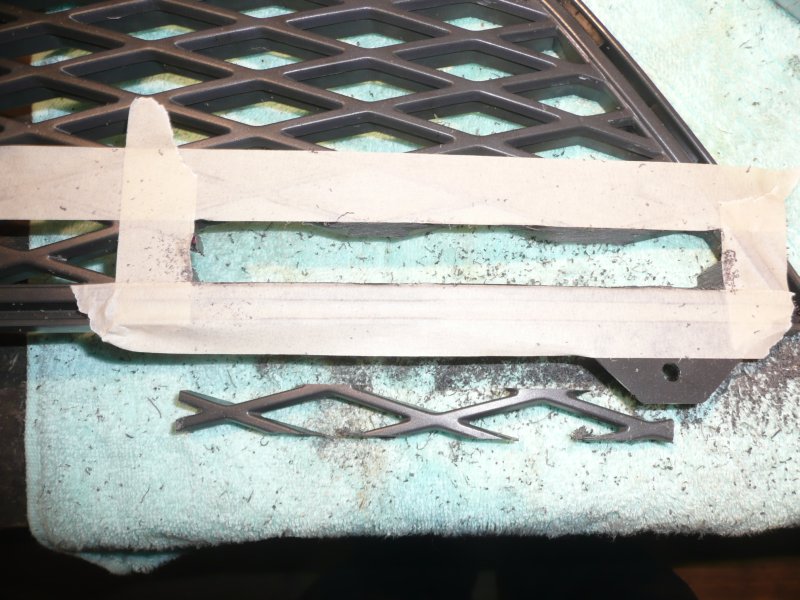
- Push in both lights after final checking, keep the front of the lights flush with the grill.
- Use one of the two rear fixings for the light as a cable support, secure with a cable tie supplied in the kit. Do this before using sealer.
- When happy with this use a VERY good quality black silicone sealer. Use a motor trade type if possible or Sikaflex sealer. Put a thin bead of sealer along the base, edge and top sides, but take care to not fill in the grill holes.
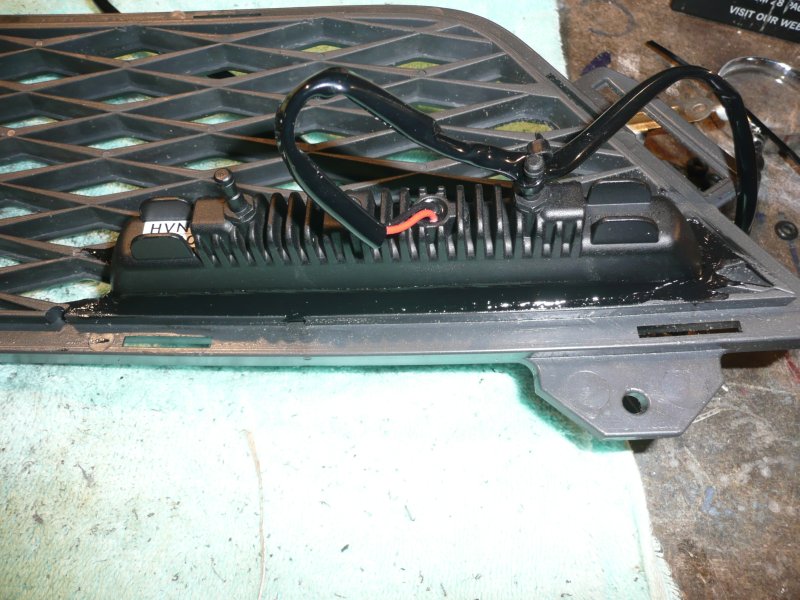
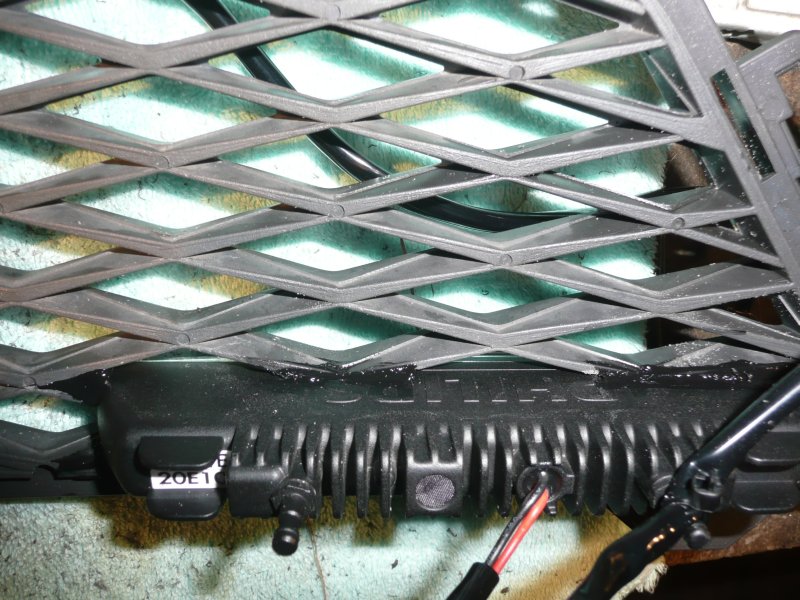
- I tested the lights once they were fitted in the grill.
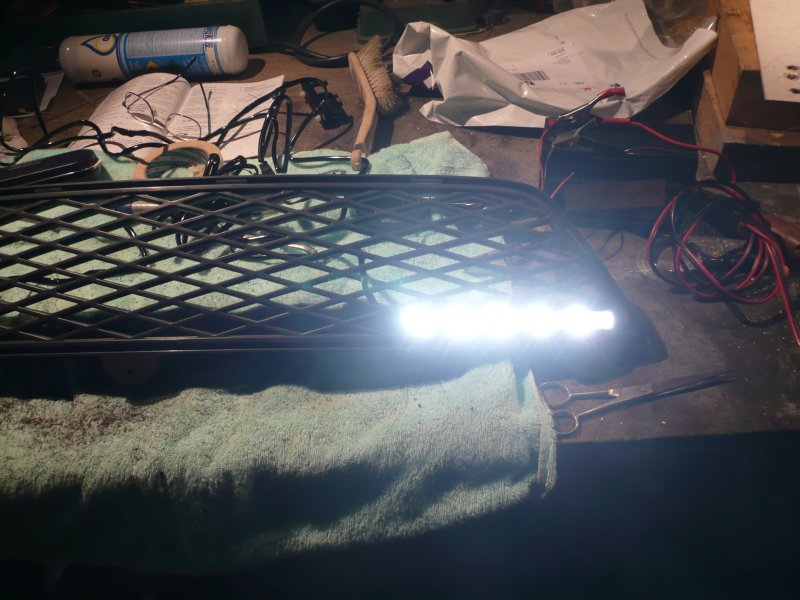
- Provided you have made the lights a tight fit in the grill you could refit every thing back. Make sure you do not move the lights when fitting, or wait until the next day when the silicone is fully cured.
- Refitting the grill is the reverse of removal. Ensure any other lights and sensors are reconnected
- Wiring for the daylight running lights is as per the instructions included with the kit.
- Completed job!
