
How To Restore Headlights To A Professional Standard
This page will show you exactly how to reach professional quality when restoring a set of headlight units.
The information below is what professionals use on a daily basis for restoring light – medium scratches, oxidisation and yellow headlights.
The whole process takes roughly 1 hour depending on how bad your headlights are.
Professional Headlight Restoration Guide
This method is the most precise and accurate way to get the best outcome when restoring your headlights.
Here, we’re using the Philips Headlight Restoration Kit that is a two in one, designed to restore and adds UV protection.
Restoration Kit Contents
- 1 bottle of water-based Pre-treatment (29.5 ml)
- 1 bottle of Cleaner/Polish (29.5 ml)
- 1 bottle of Shine Restorer/Preserver (29.5 ml)
- 1 piece of sanding paper of 600 grit (coarse)
- 1 piece of sanding paper of 1500 grit (medium)
- 1 piece of sanding paper of 2000 grit (fine)
- 10 paper towels
- 1 pair of gloves (one size fits all)
There are just 4 simple steps to this process which leads you to a professional result.
Step 1: Clean Your Headlights
Grap yourself a cloth, a bucket of warm water and a dash of washing up liquid.
Scrub the dirt and grime off and wipe dry with a microfibre cloth.
For stubborn stains, grease and grime – we recommend using a citrus based cleaner like Rocket Butter Lemon-Aid.
Make sure the surrounding area is dry and apply car trim protection around the edges of the headlight to protect the paintwork.
Step 2: Wipe, Sand, Repeat
Next you want to apply a fair amount of the waterbase pretreatment to a paper towel and apply in a circular motion.
Now we move onto the sanding!
If you have deep scratches, start with a 600 grit sandpaper. If not, then move straight onto the 1500 grit sandpaper.
Spray the headlight with water and make sure there’s lubrication between the headlight and the sandpaper.
Move in an up and down motion and make sure to keep it wet.
If you’re happy you have sufficiently sanded the surface area correctly, now do the same with the 2000 grit.
We cannot stress it enough but keep the sandpaper wet!
Step 3: Make It Shine!
Apply a fair amount of the headlight cleaner to a paper towel and start rubbing it into the headlight.
Wipe away any residue using the pretreatment and move onto step 4.
Step 4: Protect And Cure
This final step adds shine and protects the headlights against UV rays for up to 2 years!
Just apply the shine restorer to a paper towel, rub on with a circular motion until you’ve covered the headlight and apply one more coat.
Allow to cure for 10 – 15 minutes and see the results for yourself.
Repeat this process for the other headlight and enjoy UV protection for the next 2 years.
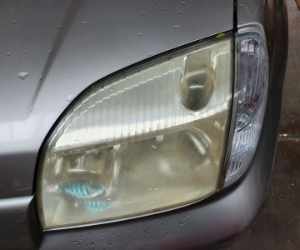
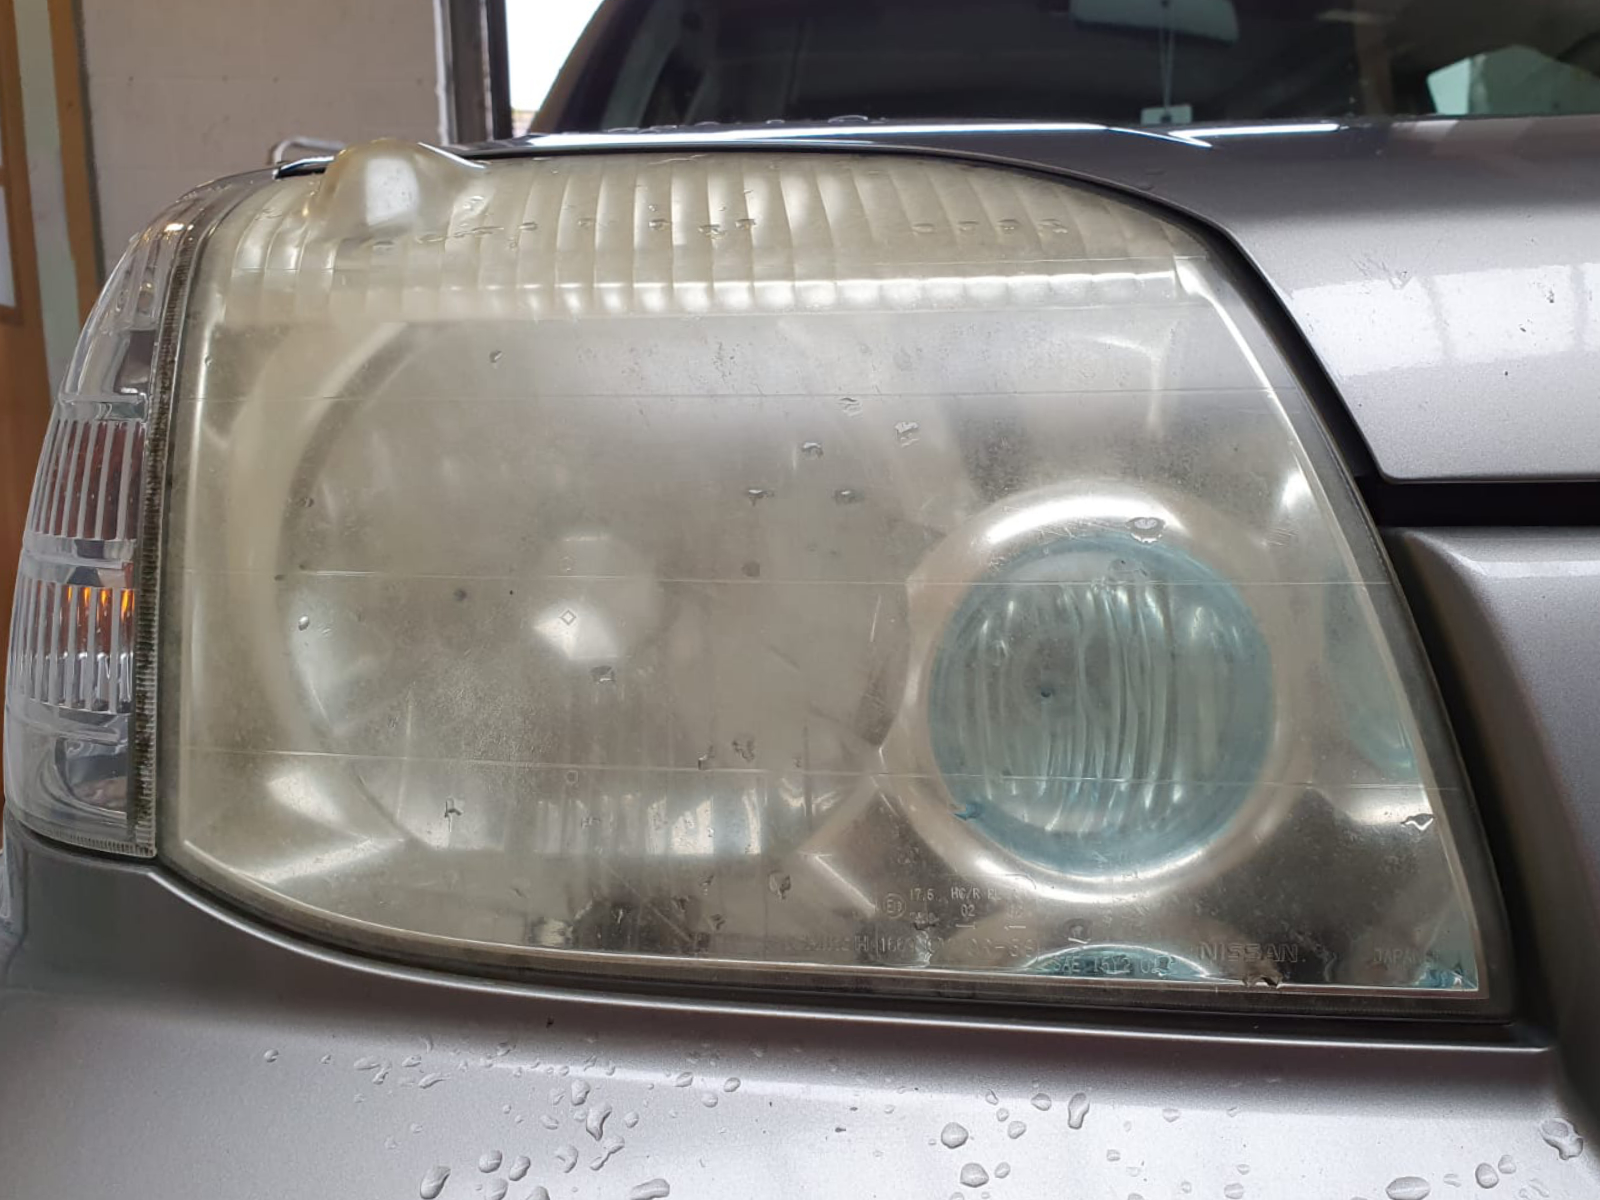 Before
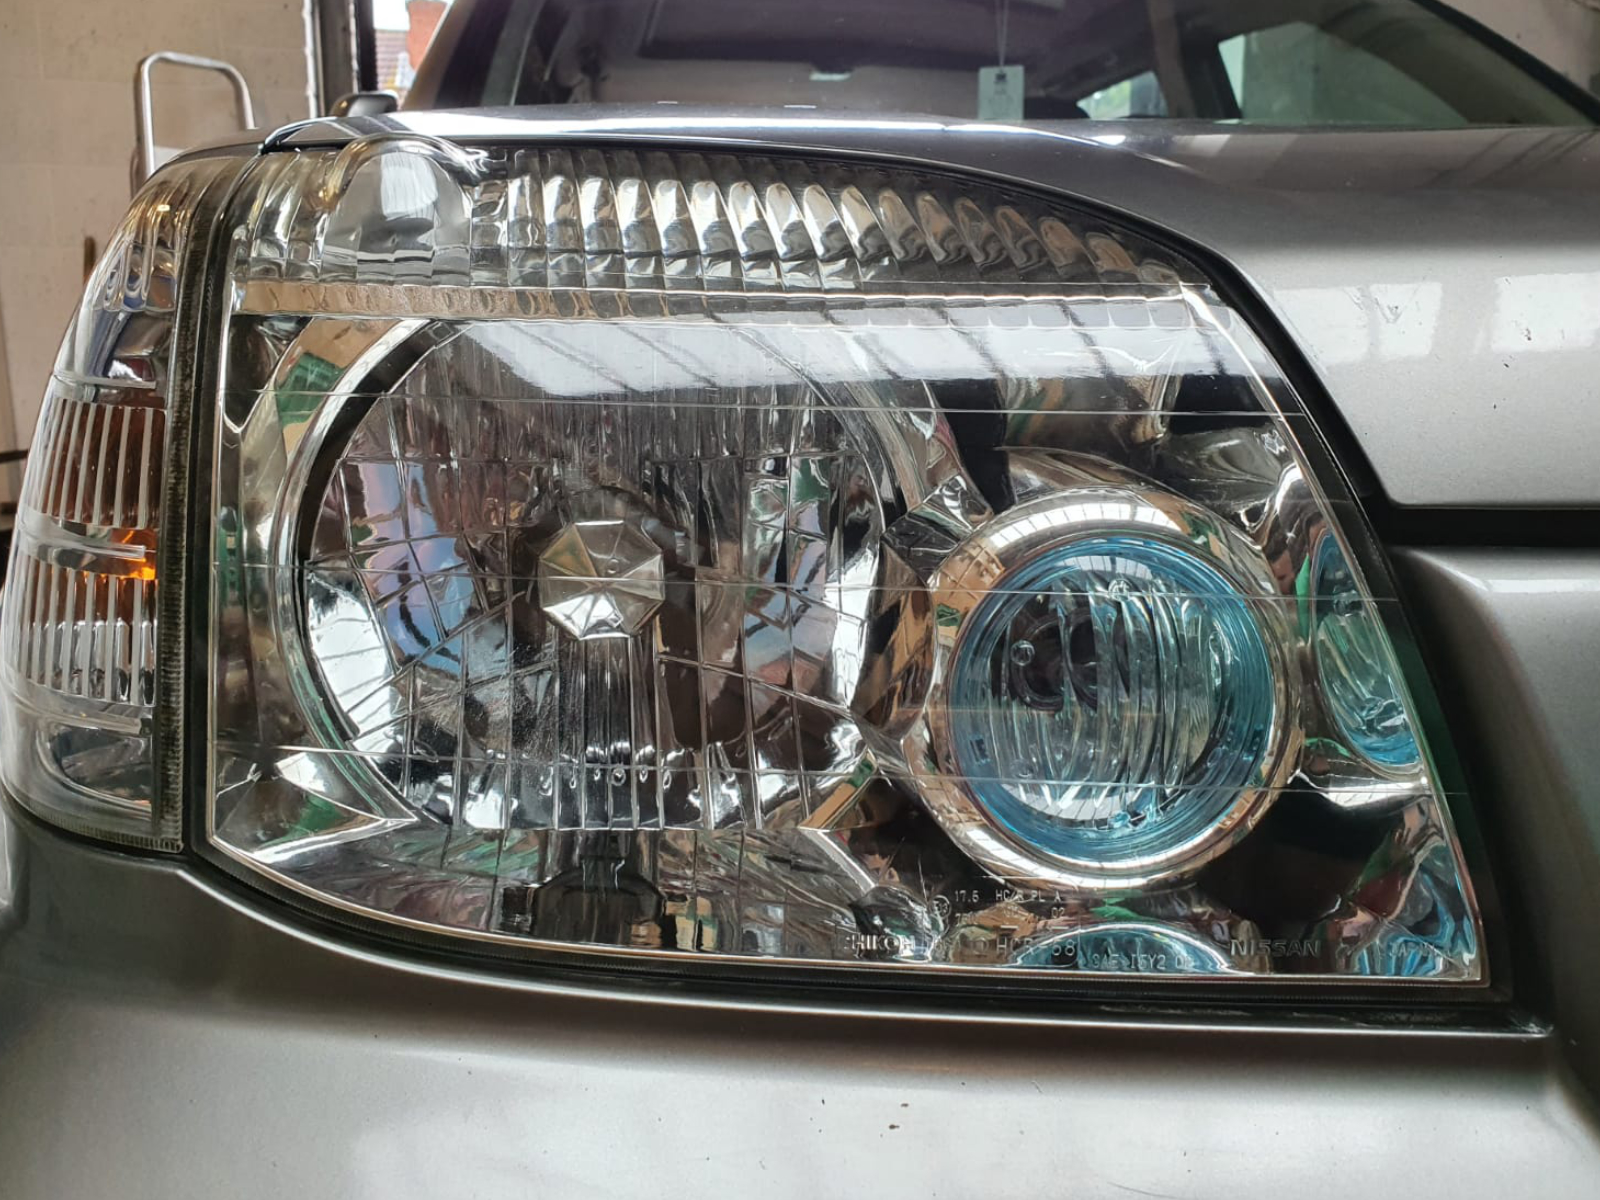 After
After
Author: Dean Michael